Application Techniques
Key Takeaways
- Understand the tools required for applying lash clusters.
- Follow the step-by-step guide for flawless application.
- Best practices to maintain and care for your lash clusters.
Lash clusters are a fantastic way to enhance your look with customizable styles that fit any occasion. This guide provides a step-by-step approach to applying lash clusters, alongside the tools you need and some best practices.
Tools Needed
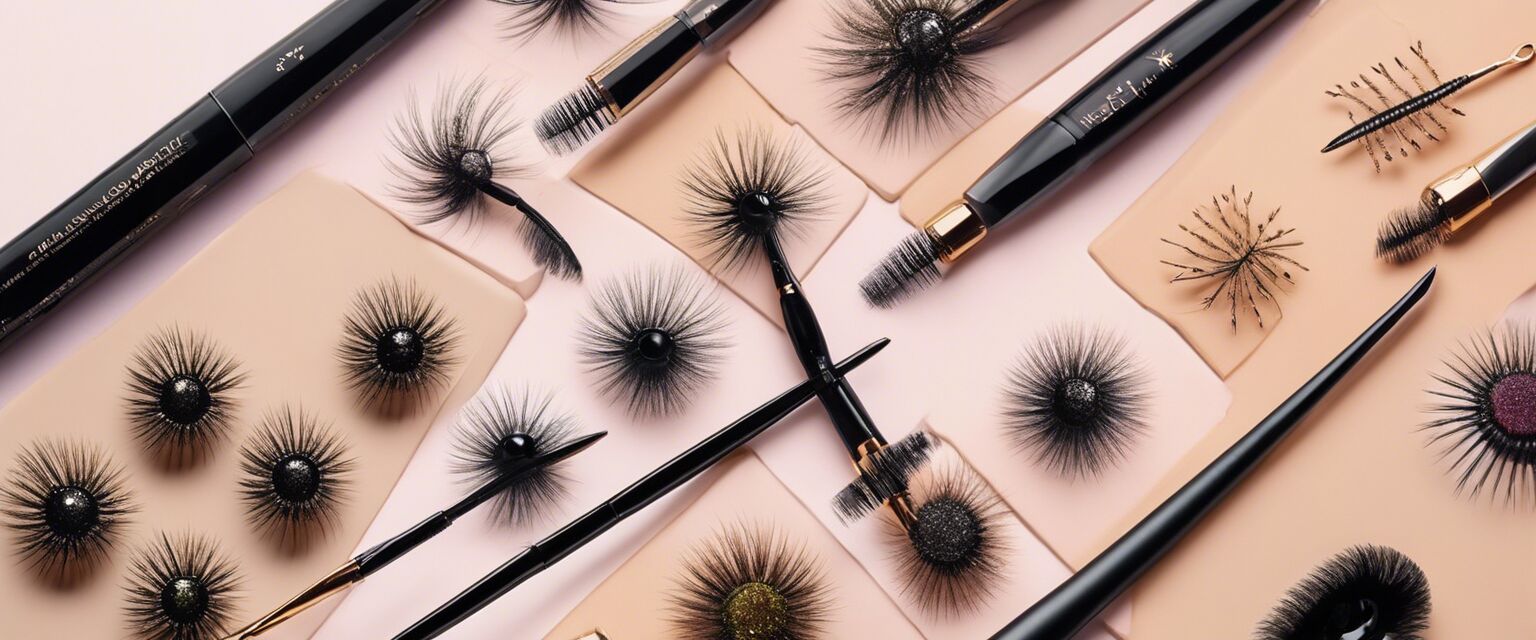
Before you start the application process, gather the following tools:
- Lash clusters
- Lash adhesive
- Lash applicator
- Mirror
- Cleanser for eyelids
- Tweezers (optional)
- Storage case (for organizing lashes)
Step-by-Step Application Guide
Step 1: Prepare your lashes
Make sure your natural lashes are clean and free of makeup. Use a cleanser to remove oil and dirt.
Step 2: Choose your lash cluster style
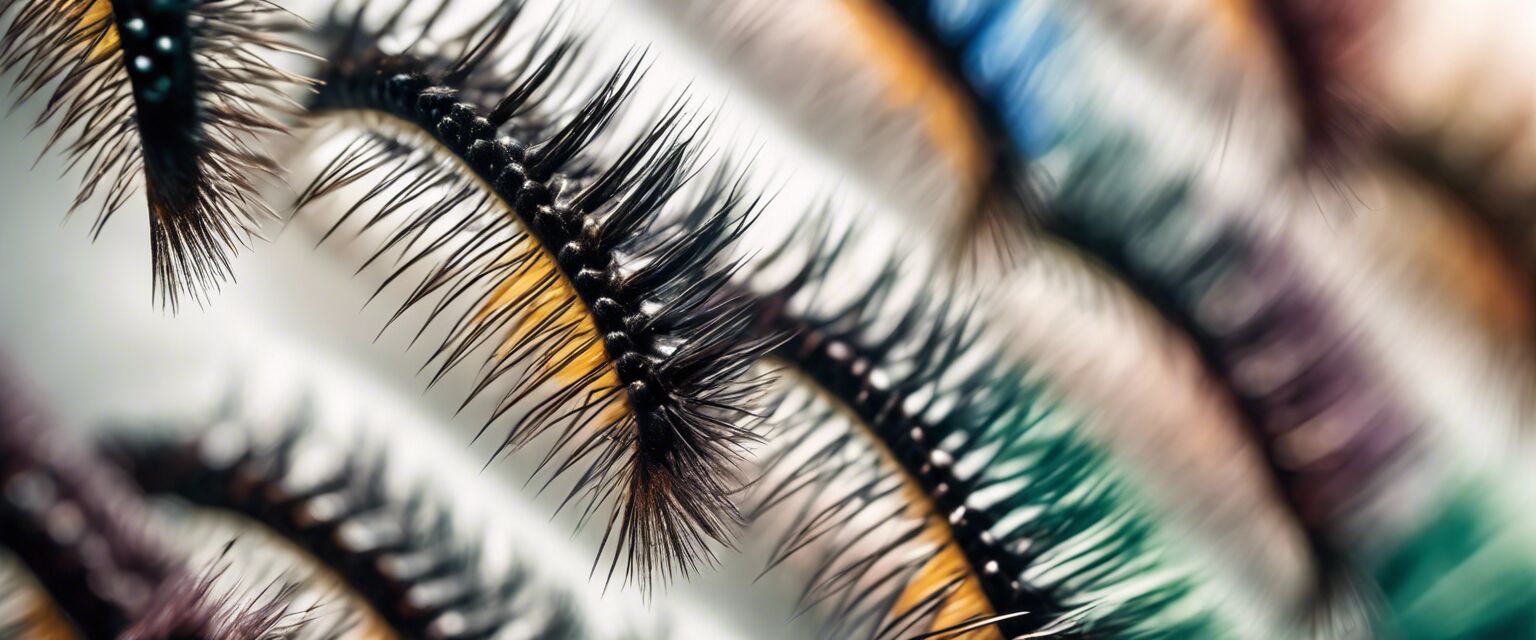
Select a style from our Cluster Styles category that suits your desired look. Lash clusters come in various shapes, lengths, and volumes.
Step 3: Apply adhesive
Dab a small amount of lash adhesive onto the base of the lash cluster using either a brush or the applicator provided.
Step 4: Position the lash cluster
Using a lash applicator, carefully position the cluster close to your natural lash line. Ensure it is centered and secure.
Step 5: Repeat the process
Continue adding clusters until you achieve your desired fullness. Start from the outer corner towards the inner corner.
Best Practices
Tips for application
- Apply clusters in small sections for better control.
- Opt for shorter clusters towards the inner eye.
- Wait a few seconds after applying adhesive for better stickiness.
- Avoid getting adhesive on your eyelid.
- Once youâre done, give the lashes a gentle press to ensure they are secure.
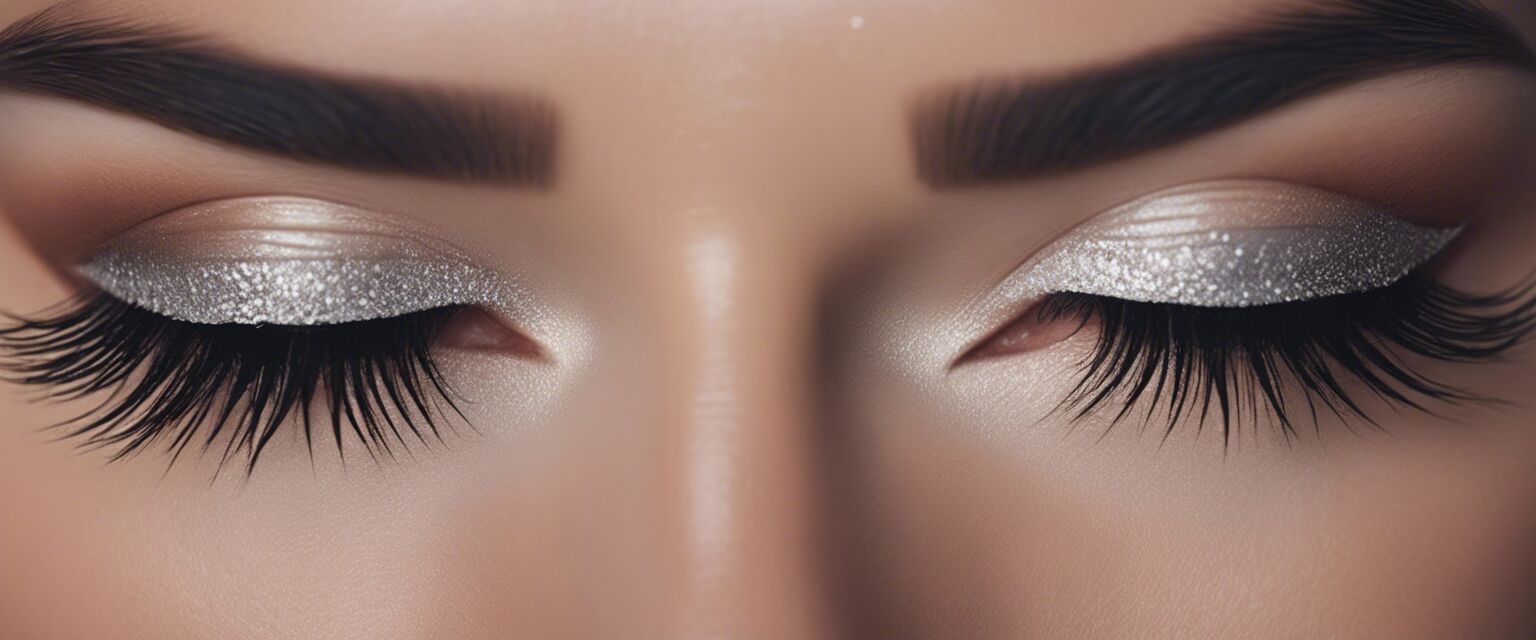
Image Example
Lash Aftercare
Once youâve successfully applied your lash clusters, it's essential to take care of them to ensure longevity. Here are some Lash Care Products you can consider:
- Gentle cleansers
- Moisturizing serum
- Regular storage in a dry place to avoid damage
Removing Lash Clusters
When the time comes to remove your lash clusters, make sure to do so carefully. You can refer to our Lash Removers for the best techniques and products to use for safe removal, avoiding damage to your natural lashes.
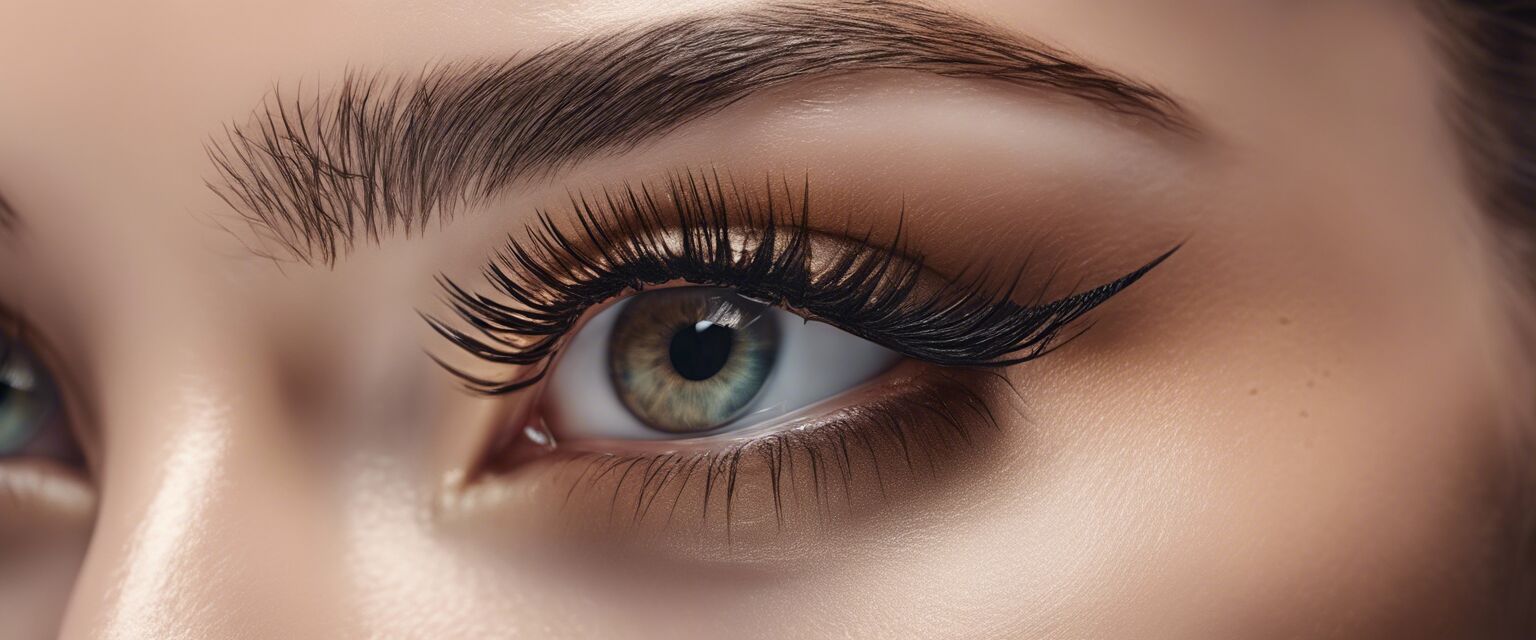
Image Example
Pros
- Customizable looks based on personal style.
- Easy to apply with practice.
- Reusability of quality lash clusters.
Cons
- Requires time and patience to master.
- May cause irritation if not applied correctly.
Conclusion
By following this comprehensive guide, you'll be well on your way to applying lash clusters like a pro. Donât forget to explore our categories like Lash Applicators and Storage and Organizers to help you manage your lash collection effectively!
Final Image Example
